Two-Zone Grilling: How to Set Up Direct and Indirect Heat on a Charcoal or Gas Grill
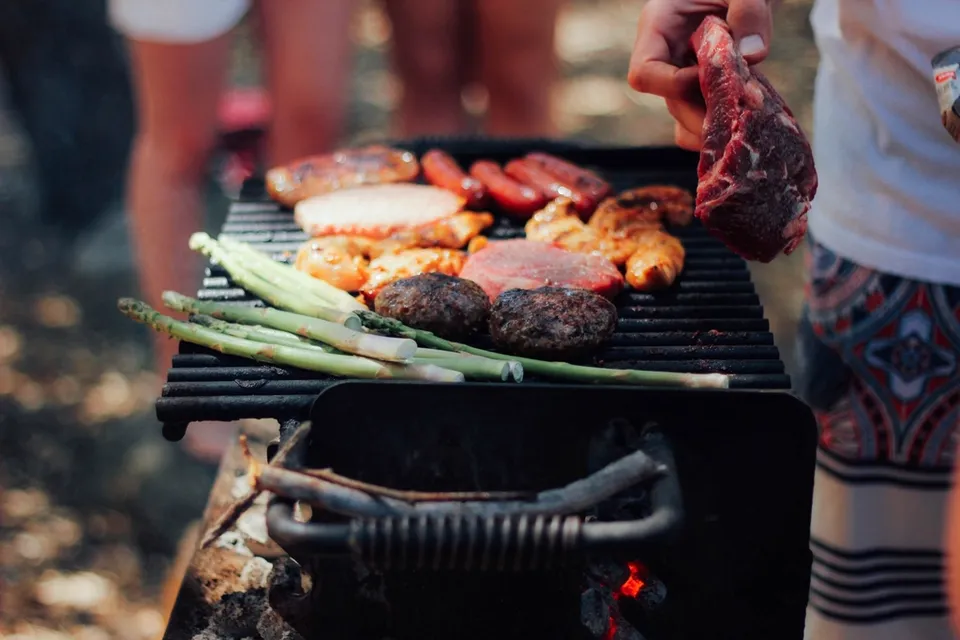
Most grilling problems come from one fire doing two jobs. Thin food needs strong heat for a short time; thick food needs gentle heat for longer, or the outside burns before the middle is cooked. A two-zone fire solves this by giving the grill a hot side and a cool side, so you can sear, move, wait and finish without fighting the flames. It is the most useful set-up a backyard cook can learn, and it works on almost any grill with a lid.
Direct and indirect heat, in plain terms
Over the coals, food is cooked mainly by radiant heat from below. It is intense and fast: perfect for browning a steak, charring peppers or cooking a thin burger, and far too fierce for a whole chicken leg, which will be black outside and raw at the bone. Beside the coals, with the lid down, the grill behaves more like an oven. Hot air circulates around the food and cooks it from all sides, more slowly and more evenly.
A two-zone fire is simply both of these in the same grill. The hot side is for colour, the cool side for cooking through and for holding food that is ready. It also gives you a safe place to move food when fat drips and flares up, which is the most common reason for burnt chicken skin.
Setting it up on a charcoal kettle
- Light the coals in a chimney starter. It needs only newspaper or a natural firelighter, no fluid. If you do use lighter fluid, the US National Fire Protection Association says to use only charcoal starter fluid and never add it, or any other flammable liquid, to a fire that is already lit (NFPA, grilling safety).
- Wait until the coals are ready. The UK Food Standards Agency describes ready coals as glowing red with a grey, powdery surface. Food put on before that point cooks unevenly and picks up acrid smoke.
- Pour them onto one half of the charcoal grate. Build a slope if you like, deeper against the wall and thinner towards the middle, which gives you a third, medium zone. Leave the other half bare.
- Put the cooking grate on, close the lid and let it heat for a few minutes, then scrape the grate clean.
- Set the vents. Position the lid vent over the cool side, so hot air and smoke are drawn across the food on their way out. The bottom vent controls how much air feeds the coals: wider for more heat, narrower to slow the fire. Never close both completely while you are still cooking.
Fuel matters more in a two-zone fire than in a quick burger session, because the coals have to last. Dense lump charcoal burns hot but unevenly; briquettes are steadier. Our guide to judging a bag of lump charcoal explains how to tell a good bag from a sack of dust.
Setting it up on a gas grill
On a grill with two or more burners, two-zone cooking is a matter of switching burners off. Preheat with everything on and the lid closed, clean the grate, then turn one side off or down to its lowest setting. Food that needs gentle heat goes over the unlit burner. With three or more burners, you can also leave the outer burners on and cook over the middle one turned off.
The lid has to stay closed for indirect cooking: with it open, the heat simply rises away and the food on the cool side barely cooks. Lid thermometers read the air near the top of the hood, not the temperature at the grate, so treat them as a guide to whether the grill is steady rather than as an exact figure. If you are unsure how your own grill's burners are laid out, our comparison of the Weber Spirit and Spirit II describes how a typical three-burner cookbox is arranged.
Small portable grills with a single loop burner have no true cool side. On those, cook thick food on the lowest setting with the lid closed, and raise it on a rack or a sheet of foil if the bottom browns too fast.
What to cook on which side
| Food | How to use the two zones |
|---|---|
| Thin steaks, burgers, fish fillets, sliced vegetables | Direct heat, turned as needed. Move to the cool side if they brown before they are done. |
| Thick steaks and chops | Reverse sear: start on the cool side, lid closed, until the centre is a little below your target; finish over the coals for the crust. |
| Bone-in chicken pieces | Mostly indirect, skin side up, lid closed; a short spell over the heat at the end to crisp the skin. |
| Sausages | Brown over the heat, then let them cook through on the cool side, where the fat drips without flaring. |
| Whole chicken, joints, ribs | Indirect from start to finish, adding fuel on charcoal as needed. A drip tray under the meat catches fat. |
If you want smoke flavour, a chunk or two of seasoned hardwood on the coals (or in a smoker box on gas) is enough; the food on the cool side, lid closed, is in the path of the smoke. Our guide to smoking wood covers which species suit which meat.
The reverse sear, step by step
The reverse sear is the technique that makes two zones worth learning. Searing first and finishing gently also works, but searing last gives a thinner grey band under the crust and a surface that is dry and ready to brown.
- Season a steak or chop at least 3 cm (just over an inch) thick and place it on the cool side, lid closed.
- Check the centre with a probe thermometer. Take it off the cool side when it is a few degrees short of the doneness you want.
- Open the vents or turn the lit burners up, then sear the meat directly over the heat for a minute or two per side, until it is well browned.
- Check the centre once more and rest the meat briefly before slicing.
A probe that reads true is what makes this precise. Our article on the iGrill 2 and iGrill 3 shows how to check any thermometer in iced water before you rely on it.
Safe food, safe fire
Slow, indirect cooking is a food-safety ally, because the inside has time to reach a safe temperature before the outside burns. But it only helps if you check. The US Department of Agriculture gives safe minimum internal temperatures of 145 °F (63 °C) for whole cuts of beef, pork, lamb and veal, followed by a three-minute rest, 160 °F (71 °C) for minced meat, and 165 °F (74 °C) for all poultry. The FSA's barbecue advice adds that chicken, pork, burgers and sausages should not be served pink, that juices should run clear and that "charred on the outside doesn't always mean cooked on the inside" (FSA, BBQ food safety). It even suggests cooking chicken and pork in the oven first and finishing them on the grill, which is two-zone thinking with a kitchen in the middle.
The cool side is also the right place for cooked food waiting to be served, and the FSA advises keeping raw meat away from cooked meat on the grill. Keep a clean plate and clean tongs for food coming off.
For the fire itself, the NFPA advises placing the grill well away from the house, deck railings, eaves and overhanging branches, keeping children and pets at least three feet (about a metre) from the grilling area, removing grease build-up from the grates and the trays below, and letting coals cool completely before putting them in a metal container.
Two-zone checklist
- Coals glowing and ashed over, banked on one side; or one gas side off.
- Lid vent over the cool side; lid closed for anything indirect.
- Thin food direct, thick food indirect, flare-ups moved to the cool side.
- Thermometer in the thickest part before anything comes off.
- Separate plates and tongs for raw and cooked food.
Sources
- Food Standards Agency (UK), BBQ food safety, consulted November 2026.
- National Fire Protection Association (US), Grilling safety, consulted November 2026.
- US Department of Agriculture, Food Safety and Inspection Service, Safe Minimum Internal Temperature Chart.
 Grill & smoke
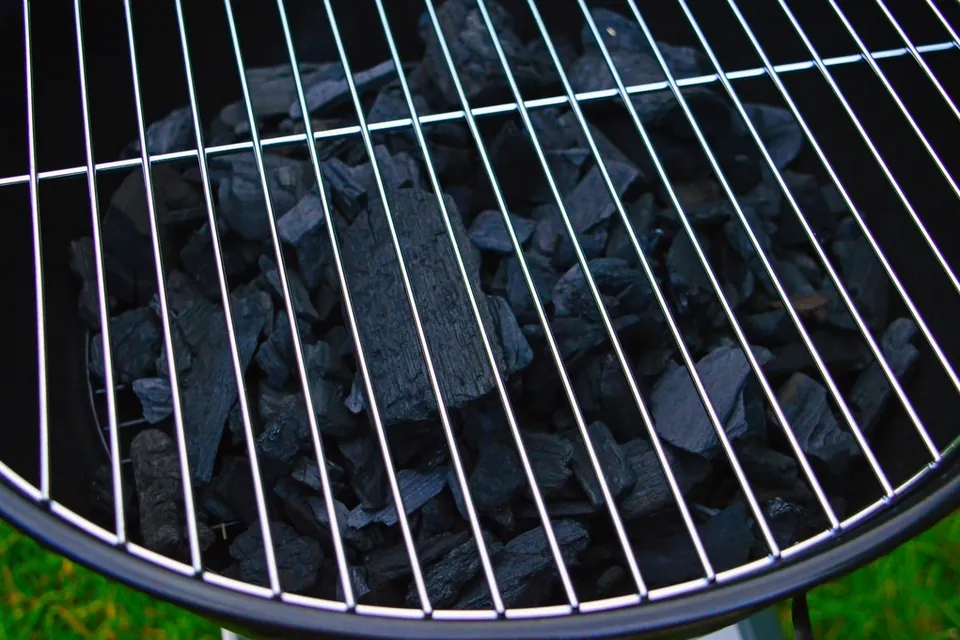
Lump charcoal, judged
Lump versus briquettes, and a simple home method to judge any bag by size, dust, burn and ash.
 Grill & smoke
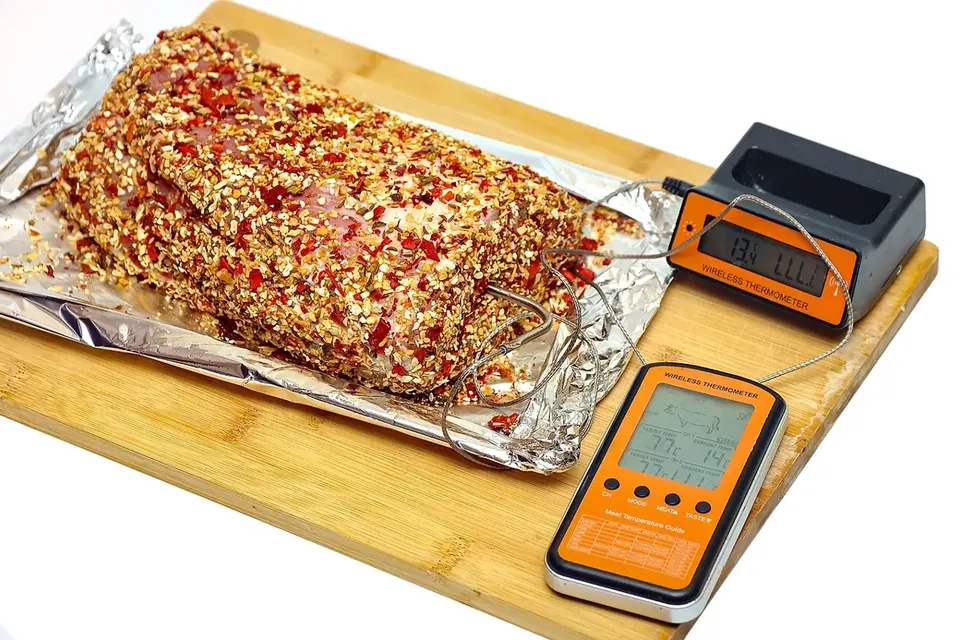
iGrill 2 vs iGrill 3
Standalone versus grill-mounted, probes, battery and app, plus a ten-minute accuracy check for any probe.
 Grill & smoke
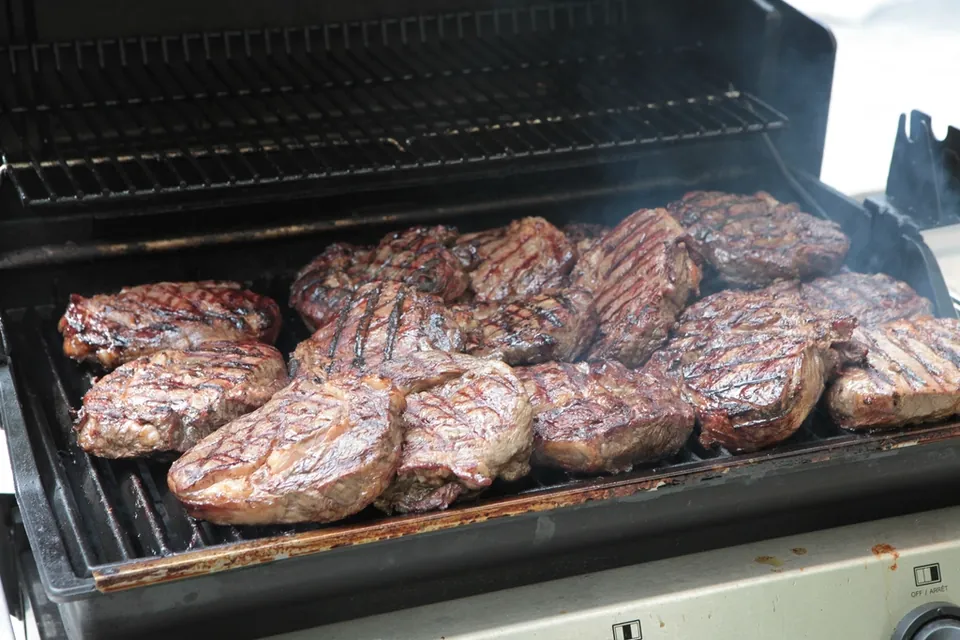
Spirit vs Spirit II
What changed between the two generations on paper, how to identify yours, and how to inspect a used one.