Flavorizer Bars: Stainless Steel vs Porcelain-Enamelled, and When to Replace Them
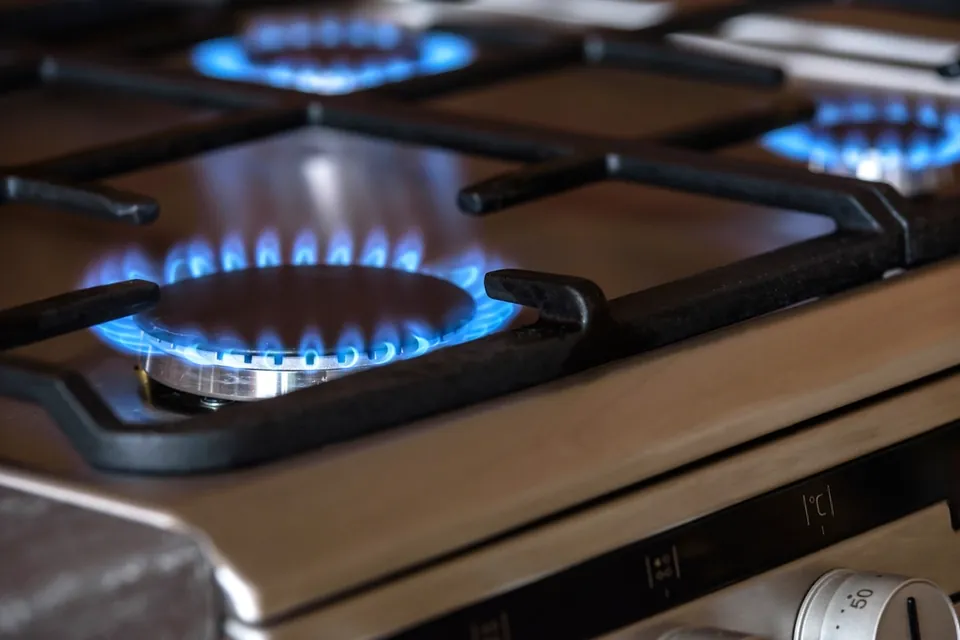
Lift the grates off most gas grills and you will find a row of inverted-V metal bars covering the burners. Weber calls them Flavorizer bars; other makers say flame tamers, heat tents or heat plates. They are the most hard-working consumable in a gas grill, and sooner or later every owner has to choose between replacing them with porcelain-enamelled steel or stainless steel. This guide explains what the bars do, how the two materials compare, and how to tell when yours are finished.
Hob & Ember is not affiliated with Weber or any parts seller. "Flavorizer" is a Weber trademark used here only to identify the part.
What the bars actually do
- Vaporise drippings. Fat and juices that fall from the food hit the hot bars and sizzle into smoke and steam that rise back into the cooking chamber. This contributes to the grilled flavour.
- Spread heat. Burners produce lines of flame. The bars absorb and radiate that heat more evenly across the grate.
- Protect burners. They keep grease and food debris from falling directly onto burner ports, which would clog them and cause uneven flames.
- Channel grease. The sloped sides direct what does not vaporise down into the grease management system and away from the burners.
The two materials compared
| Porcelain-enamelled steel | Stainless steel | |
|---|---|---|
| Construction | Carbon steel coated with fused glass enamel | Uncoated stainless steel, gauge varies |
| Price | Lower | Higher, often substantially |
| Cleaning | Smooth surface; residue brushes off easily while intact | Brushes clean; discolours to bronze or blue with heat |
| Main failure | Enamel chips, exposed steel rusts and perforates | Gradual thinning and pitting; thin gauges can warp |
| Typical life | Shorter; depends heavily on use and cleaning | Longer; depends on gauge and grade |
| Availability | Offered for most models | Not offered for every model or size |
Lifespans quoted online vary widely because they depend on how often you grill, how fatty the food is, how often the bars are cleaned, whether the grill is covered and how humid or salty the air is. Weber's warranty terms for bars differ by model and generation; your manual or the manufacturer's support pages give the exact coverage.
Grades and gauges
Not all stainless steel is equal. Austenitic grades such as 304 resist corrosion well; ferritic grades such as 430 are cheaper, magnetic and somewhat more prone to rust spots in damp or salty conditions. Thickness matters too: heavier gauge bars resist warping and last longer. Original-equipment and aftermarket bars do not always state the grade; a magnet test gives a hint (304 is generally non-magnetic or only weakly magnetic; 430 is strongly magnetic), though forming can make 304 slightly magnetic.
Inspect your bars
- Lift and look underneath. Remove the grates and bars once the grill is cold. The underside, facing the burner, usually fails first.
- Tap test. Tap each bar gently with a metal tool. A dull, flaky sound or flakes falling away indicates heavy rust.
- Light test. Hold the bar up to the sky. Pinholes or slots of light mean it is perforated and grease can drip straight onto the burner.
- Straightness. Lay it on a flat surface. A bar that rocks or no longer sits properly in its supports leaves gaps.
- Flame pattern. With the bars back in place and the lid open, light the grill on low. Yellow, lazy or uneven flames can indicate debris on the burner, often from failing bars.
Cleaning
- Brush the bars when you brush the grates, ideally while warm, with a stainless brush or scraper.
- A few times a season, remove them and scrape off built-up carbon. For porcelain bars, avoid hammering or prying, which chips the enamel.
- Do not soak porcelain bars for long in harsh oven cleaners; follow the grill manual for approved cleaners.
- Clean the cookbox and grease tray at the same time: most flare-ups come from accumulated grease below the bars, not from the bars themselves.
Ordering the right bars
Bar length, width and count depend on the grill's burner layout. A three-burner model may use five bars of one length; a two-burner model uses fewer and a different length; and different generations of the same family use different parts. Find the model number on the grill's rating label and use the manufacturer's parts lookup or the parts list in the manual. Measure your old bars as a cross-check. Aftermarket bars are widely sold and some are made of heavier stainless than the original; check dimensions and fit carefully.
Which should you buy?
- Grill outdoors uncovered, grill often, live near the sea: heavy-gauge stainless steel usually pays off.
- Grill occasionally, or plan to replace the grill in a few years: porcelain-enamelled bars are fine and cheaper.
- Older grill with a corroded cookbox: do not spend much on bars until you have checked that the cookbox and burners are worth keeping.
Safety
A grease fire inside a gas grill should be handled by turning off the burners and the gas supply and keeping the lid closed if it is safe to do so; never use water on a grease fire. Regular cleaning of bars, cookbox and tray is the best prevention. The National Fire Protection Association's grilling safety guidance also recommends removing grease build-up from grills and the trays below them.
Sources
- Weber, owner's manuals, parts lookup and warranty information.
- National Fire Protection Association, Grilling safety tips.
- British Stainless Steel Association, information on stainless steel grades and corrosion.
 Grill & smoke
Spirit vs Spirit II
What changed between the two generations on paper, how to identify yours, and how to inspect a used one.
 Grill & smoke
Q1200 vs Q2200
Cooking area, burner rating and footprint from the published specs, plus the rules for small cylinders.
 The kitchen
Cleaning a kitchen properly
Clean first, then sanitise: boards, sponges, a weekly routine, and the products you must never mix.