How to Choose a Meat Slicer for Home Use: Blade, Motor, Safety and Cleaning
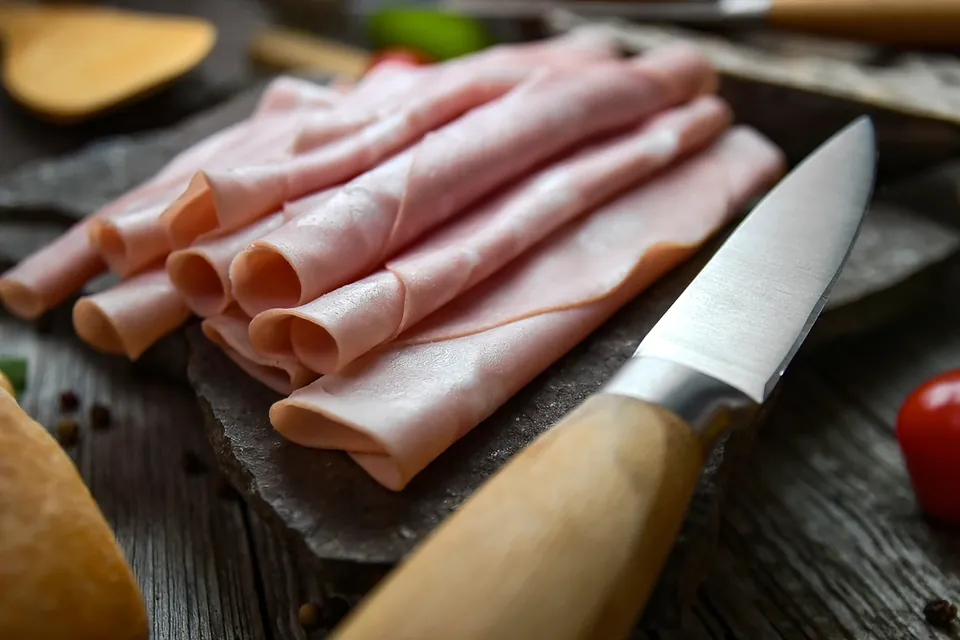
An electric slicer turns a roast, a block of cheese or a cured ham into paper-thin, perfectly even slices in seconds. It is also one of the few home appliances with an exposed, spinning, razor-sharp blade, and one of the hardest to clean properly. Choosing one is less about finding the "best" model than about matching blade, motor and guards to what you will actually slice, and being honest about how much cleaning you will do.
What a slicer does better than a knife
A sharp knife and a steady hand can slice a roast. What a slicer adds is repeatability: every slice comes out the same thickness, from a millimetre or less up to around 15 to 20 mm on most home machines. That matters for carpaccio, deli-style sandwiches, jerky that dries evenly, potatoes for gratin and hard cheeses that crumble under a knife. If you only carve a joint a few times a year, a long slicing knife (see our knife sharpening guide) is cheaper, safer and quicker to wash.
Blade size and type
Blade diameter sets the largest piece you can slice in one pass. Roughly, the usable cutting height is a little under half the blade diameter, so a 7.5 inch blade suits sausages, small roasts and cheeses, while a 10 inch blade handles a whole boneless ham or a large brisket. Bigger blades also need bigger motors and weigh more.
| Blade | Best for | Watch out for |
|---|---|---|
| Smooth (straight edge), 7.5–8.5 in | Cold cuts, cooked roasts, firm cheese | Tears warm, soft meat; needs regular honing |
| Serrated, 7.5–8.5 in | Bread, crusty roasts, frozen-firm meat | Leaves a rougher face on delicate ham |
| Smooth, 10 in and above | Whole hams, large briskets, batch prep | Weight, counter space, more parts to clean |
Most blades are stainless steel; some are chrome-plated or coated carbon steel, which takes a keen edge but must be dried carefully. A removable blade is far easier to clean, but only if the tool for removing it is designed so your hand never touches the edge.
Motor, gearing and duty
Home slicers usually quote motor power in watts. Power figures are not standardised across brands, so treat them as a rough indicator rather than a ranking. Two more useful questions are how the motor drives the blade and how long it may run.
- Belt drive is quieter and cheaper, but a belt can slip under load, which shows up as the blade slowing on dense meat or hard cheese.
- Gear drive keeps blade speed more constant and is usual on commercial machines; it is louder and heavier.
- Duty cycle: many household motors are designed for short runs and cut out when hot. The manual often states a maximum continuous running time. If you plan to slice a whole ham at once, look for that figure before buying.
Safety features worth paying for
A slicer blade spins fast enough to cut deeply before you can react. The features below are the ones that reduce the chance of contact, and they are worth more than an extra 50 watts.
- Food pusher with prongs that holds the last part of the food so your fingers stay behind a guard.
- Ring guard or blade cover that shields the edge of the blade outside the cutting zone.
- Thickness plate that closes to zero, covering the edge when the machine is not cutting.
- Two-step or protected switch, so the motor cannot start by being knocked.
- Suction or rubber feet that keep the base from walking across the counter.
Cut-resistant gloves rated under the ANSI/ISEA 105 scale (levels A1 to A9) or EN 388 in Europe are a sensible addition when handling and cleaning the blade. They resist slicing, not puncture, and they do not make it safe to put a hand near a spinning blade.
Standards and marks to look for
A safety mark tells you an independent laboratory has checked the electrical design. In North America, household food-preparing machines are covered by UL 982 and commercial machines by UL 763; look for a UL, ETL or CSA mark on the rating plate. In the EU and UK, the CE or UKCA marking is a manufacturer's declaration rather than an independent test, so a third-party mark (GS, for instance) adds assurance. For commercial slicers, NSF certification to NSF/ANSI 8 (commercial powered food preparation equipment) covers materials and cleanability. Home machines rarely carry it, and that is not in itself a fault.
Test it at home
- Thickness accuracy. Set the dial to 2 mm, slice a chilled block of cheese or a cooked, fridge-cold roast and measure ten slices with a ruler or calipers. Variation of more than about a millimetre suggests play in the carriage or thickness plate.
- Thin limit. Turn the dial down until slices start to break up. That is the machine's real minimum, often thicker than the box claims.
- Load test. Slice something dense, such as a hard salami. Listen for the motor slowing; a belt-driven blade that stalls will tear rather than cut.
- Stability. Push the carriage briskly. The base should not move or rock.
- Cleaning time. Time a full strip-down and wash. If it takes much longer than slicing by hand would, be honest about how often you will use it.
Cleaning: the part that matters most
Slicers have a long record in food-safety investigations. In 2024 the US Centers for Disease Control and Prevention investigated a deadly Listeria outbreak linked to meats sliced at deli counters, and Listeria is known to persist on slicer parts that are hard to reach. In food businesses, the US FDA Food Code requires food-contact surfaces of equipment in continuous use with perishable food to be cleaned and sanitised at least every four hours. At home, the practical rule is simpler: clean after every session.
- Unplug the machine and set the thickness dial to zero so the plate covers the blade edge.
- Remove the carriage, pusher, guard and, if designed for it, the blade with its tool. Wear cut-resistant gloves.
- Scrape off food residue, then wash parts in hot, soapy water. Wipe the blade from the centre outwards, never along the edge.
- Clean the body with a damp cloth, paying attention to the area behind the blade, where fat and juices collect.
- Sanitise food-contact surfaces (a diluted bleach solution or a food-safe sanitiser used as labelled), then let everything air-dry before reassembling.
Most manuals forbid putting the blade or motor housing in a dishwasher. Some carriages and pushers are dishwasher-safe; the manual is the only reliable source.
Food safety while slicing
Keep cold food cold: the US Department of Agriculture advises keeping perishable food out of the "danger zone" between 40 °F and 140 °F (4 °C and 60 °C) and not leaving it out for more than two hours. Slice straight from the fridge, return slices quickly and do not slice raw meat and ready-to-eat food in the same session without cleaning in between.
Bottom line
For most home cooks, a mid-size machine with a smooth 7.5 to 8.5 inch removable blade, a pronged pusher, a closing thickness plate and a recognised safety mark is enough. Spend the rest of your attention on setup and cleaning, because a well-cleaned modest slicer is safer and more useful than a powerful one that sits unwashed.
Sources
- US Food and Drug Administration, FDA Food Code (section 4-602.11, cleaning frequency of food-contact surfaces).
- Centers for Disease Control and Prevention, Listeria (listeriosis), including outbreak investigations linked to deli-sliced meats.
- USDA Food Safety and Inspection Service, "Danger Zone" (40 °F – 140 °F).
- NSF International, NSF/ANSI 8 commercial powered food preparation equipment.
- UL Standards & Engagement, UL 982 (household) and UL 763 (commercial) motor-operated food preparing machines.
 Tools & appliances
Sharpening a dull knife
Honing versus sharpening, stones versus pull-through sharpeners, angles, and why dishwashers dull edges.
 The kitchen
Cleaning a kitchen properly
Clean first, then sanitise: boards, sponges, a weekly routine, and the products you must never mix.
 Tools & appliances
Choosing a santoku
Shape, steel, hardness and edge angle, plus a paper, tomato and onion test you can do at home.